A DIY'd Spring Wreath Restyle
One of my favorite ways to bring a little spring color to our front porch is by using a wreath, but man can they get expensive! It doesn't matter how hard I try to look for a nice cheaper version, I always tend to fall in love with one that is in the $60+ range. Ugh! I just refuse to spend that much money on a wreath that I may not even like next season.
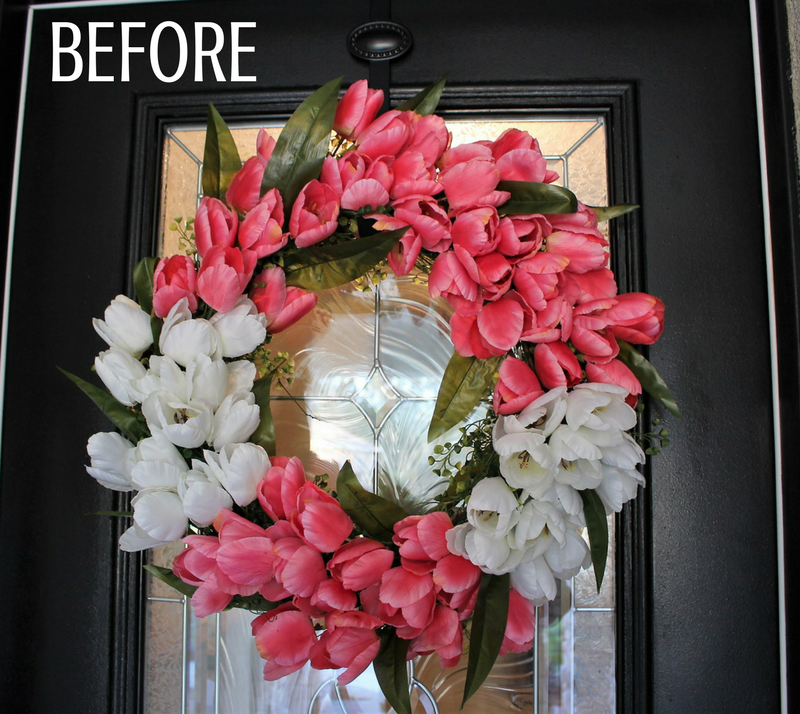
I was a little hesitant at first because you get what you pay for right? But DIY'ing my own is SO friendly on the wallet that I just had to take the plunge. Last year, after seeing this tulip wreath that Ann from On Sutton Place DIY'd, I created the below spring wreath and completely fell in love with the process of creating my own. Check out my post here if you want to read all about how I created the wreath below.
Although I loved how the wreath turned out, I was ready for a little change. So when the time came to add a little spring to our front porch this season, I decided to give it a little makeover.
**This post may contain affiliate links, please read my full disclosure here.**
Materials to create your own:
- Grapevine Wreath - I found mine at Hobby Lobby for super cheap!
- Garland for greenery - not necessary but add a little extra touch.
- Faux tulips in colors of your choice - I bought bouquets of tulips and simply separated them so that I had individual tulip stems.
- Wood Initial
- White Paint
- Floral wire
- Staple gun
Steps:
Add the Garland
I simply wrapped the garland around the wreath and tucked it in the wreath to secure it. I didn't use any floral wire or glue in case I wanted to reuse the materials. I made sure to hold the wreath upright every so often so that I could see where the garland was hanging and adjust as needed.
Begin Adding your Tulips
Now the fun begins! This time around, I wanted to add the tulips in a scattered pattern rather than in color blocks like I did last year. So I started by simply passing the stem of the tulip through the grapevine wreath. I found that this method is secure enough for the tulips to stay in place and allows me to reuse them in a later project if I should want. The key is to add the tulips in the same direction so that they all face the same way while paying close attention to the colors.
I would also leave some areas open so that I could go back in and add tulip greenery that came in my bouquets. Keep adding tulips until you've gone all the way around the wreath and leaving a 10 inch opening.
Paint your Wood Letter
I decided to paint my wood letter white with some paint that I already had on hand. If you don't, white spray paint would probably be the easiest and fastest way to go with this step.
Secure Initial to Wreath
After letting the initial fully dry, I put two lose staples in the back of the letter so that I could use them to attach the initial to the wreath. I then passed the floral wire through the staple and secured the initial to the wreath by wrapping the floral wire around the wreath. By passing the wire through the staples, it allowed me to hide the wire behind the letter.
The finished Tulip Spring Wreath:
I hope this posts encourages you to DIY your own spring wreath!
Happy DIY'ing!

