
Budget Friendly Master Bathroom Refresh Reveal
Hello! It's been a while since I posted about our master bathroom update because…life happened. My brothers and their families came to visit for the summer and it was fun to disconnect for a while and enjoy some family time. Now that things are settling back down, I'm ready to start back on working our home projects, with the first one being finishing up the master bathroom refresh.
I am happy to report that we finally have our new frameless shower doors installed! It took us several weeks because these suckers are HEAVY and we needed more muscle than just my husband and I. So we waited for my dad to come back into town to be able to help us.
Be sure to check out this post if you are curious about our plans for our master bathroom.
Before I show you how the space looks like now, let's take a look at home the space used to look like.
BEFORE - Master bathroom vanity
BEFORE - Shower doors
We started by giving all of the walls a fresh coat of white paint. Since we weren't going to be removing any of the tile, I wanted a paint color that would help brighten and update the space while still coordinating with the tile. We brought several samples back home with us and checked at different times throughout the day before finally landing on "Palais White" by Behr. I love how it instantly updated the space without doing a major renovation.
A fresh coat of paint makes ALL the difference!
Our vanity area got a few little updates by changing the lighting and cabinet hardware. It's amazing how little updates like this can completely change the space. In just this area, including the gallon of white paint, we spent less than $150! Just goes to show that you don't have to spend a lot of money to make your home beautiful.
The cabinet hardware is a complete steal from Amazon and I was pleasantly surprised on the quality. They feel nice and sturdy in your hand and after living with the for about 2 months now, they are holding up quite nice.
We kept our mirrors the same but decided to invest in some vanity lights that were more our style. These sconces were not only a super affordable choice but also beautiful from Home Depot. We were a little concerned about going from a three bulb light fixture to a one bulb light fixture but with the right wattage bulb, these vanity lights provide ample lighting.
On the floor, I added this beautiful rug that used to live in our kitchen. It helped bring in color and personality to the space.
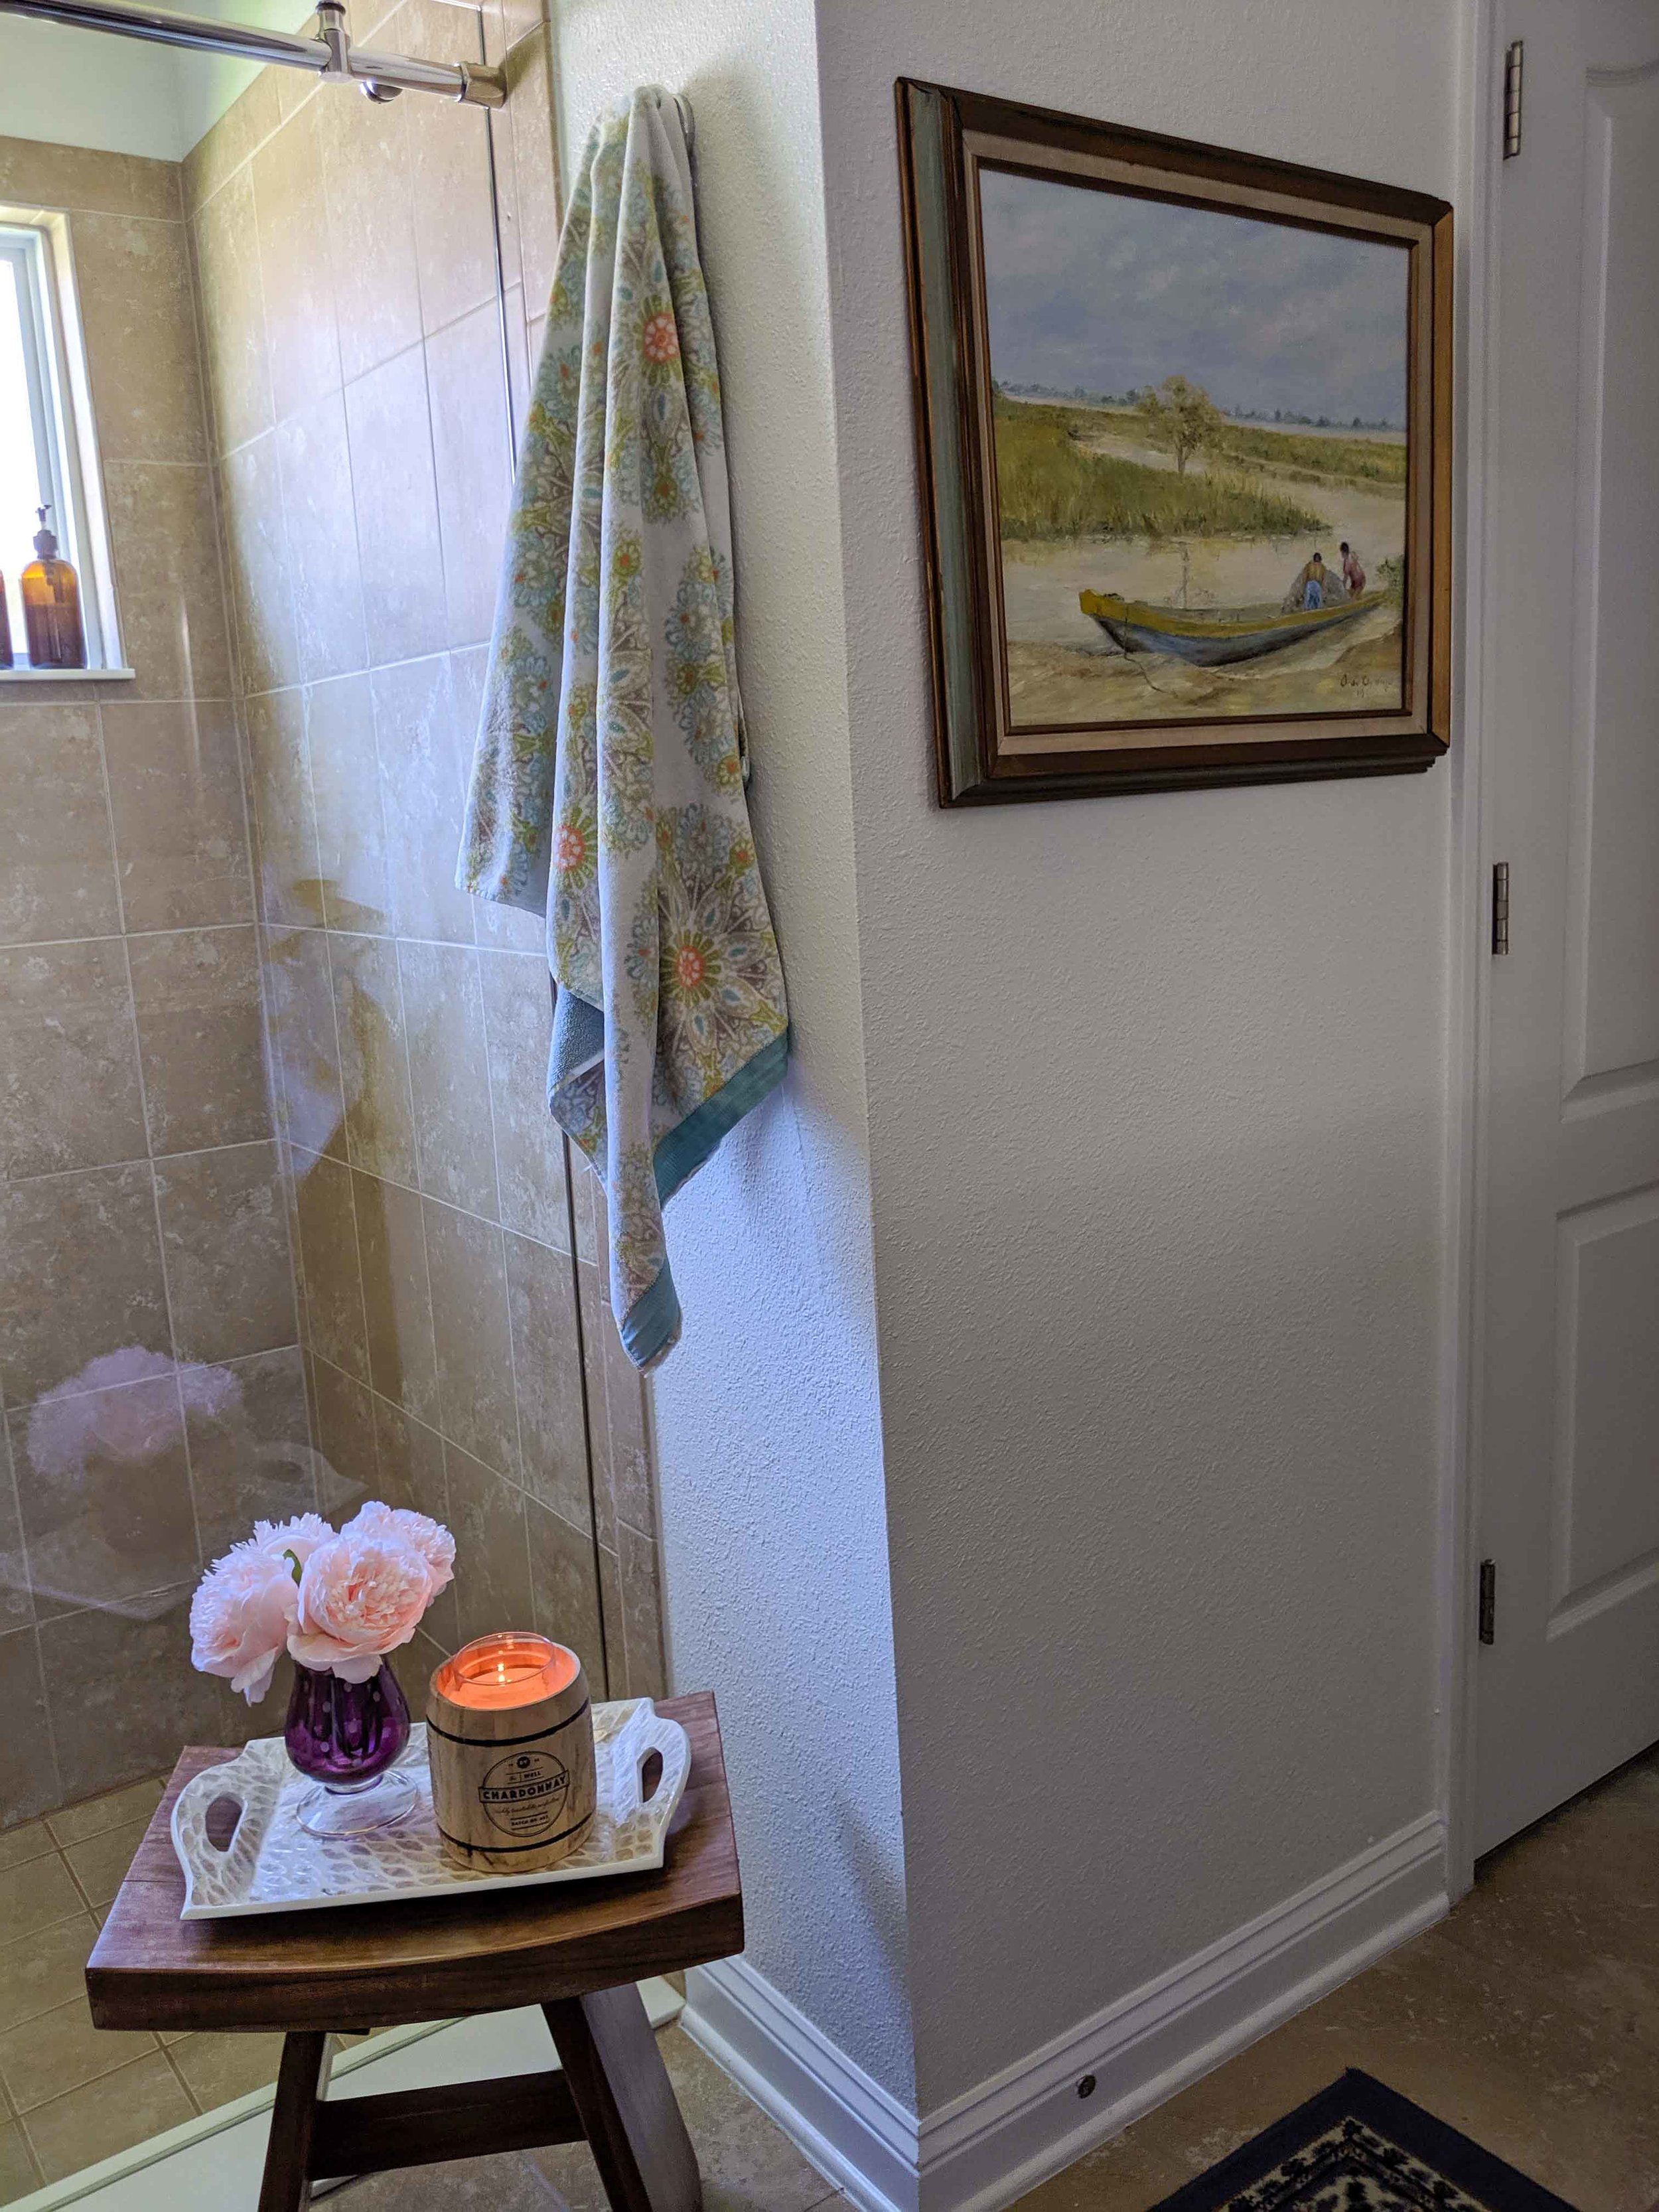
On the opposite wall of the vanity, we removed the builder grade shower doors and installed a frameless shower door kit. We bought the shower door kit on Amazon and installed it ourselves in order to save money. The doors was definitely the most expensive part of this refresh ($550) but it was the one that made the most impact. The shower area looks instantly updated with these new doors.
In order to clean up the shower area a little more, we decanted all of our shampoo and conditioner into glass amber bottles that I got from Amazon. It helps tame all of the shower clutter while still looking pretty!

I added the finishing touches by adding art and new towels and calling this part of our bathroom refresh done!
Be sure to follow along as we continue to work on transforming the closets and the toilet room. Coming to the blog soon!
